Sniper Elite V2 Remastered – Guide to Photo Mode

Introduction
You can access photo mode through the Pause Menu or by pressing P.
You will then be able to move your viewfinder around with WASD and by holding right-click and dragging. Use Page Up and Page Down to move the camera vertically.
Use T to advance the current frame. You can only move time forward, but this is especially useful to get fine control during killcams.
This guide will cover the functions available to you, and will finish with some useful tips for creating some memorable shots.
Use ‘Hide UI’ when you are ready to take your screenshot, and then F12 to take the shot.
Adjustment

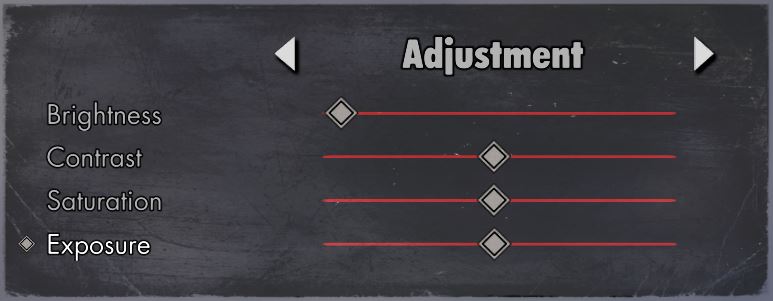
The Adjustment menu allows you to change the fundamental qualities of your shot: brightness, contrast, saturation, and exposure.
Saturation adjusts the intensity of colour in the shot. At its minimum the picture will be in black and white. Exposure is different from brightness in that it mimics the look of under- or over-exposed film. At its minimum the shot will be totally black, and turned up high light sources and any pale or reflective surfaces will be completely washed out.
Less is often more when altering these, and you will often find you need to come back to this menu after adding filters and a vignette.
Filter

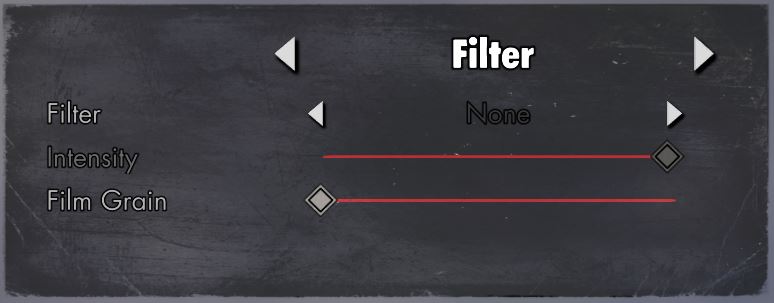
The Filters menu allows you to choose from a wide range of effects to apply to your shot.
You can also fade the filter in so that it’s just right, and then add a film grain effect.

Camera & Lens


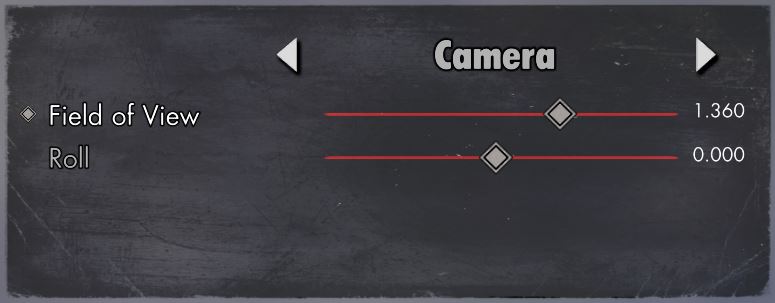
You can also use the Q and E keys to roll the camera, but this slider will give you finer control.
Depth of Field allows you to alter the focal point, and add some artistic softening to the other elements.
A good way to start using this is to set the Aperture to its minimum, and then adjust Focal Distance. You should see a narrow band where things are in focus. Move this band to include the objects you want to be the focal point of your photo, then you can increase the Aperture to bring things into focus in front of and behind that point.
Vignette
A vignette is simply a dark circular border around your image. Great for getting a pinhole or time-worn effect on your image.
Hide Characters
This menu is fairly simple – it allows you to remove the player character and enemies from the scene, including their shadows.
Frame
This menu is where you put the finishing touches to your photo. You can choose to recreate a film still, Polaroid, or even a postcard.
Presets
Finally, the presets menu has some ready-made setups, and you can add your own to the list. This is useful if you want to take a lot of shots with the same settings.
Press Space to save your own presets at any time.
Some Tips
You can press R to reset the settings and viewfinder placement to default.
During killcams, craning/panning the viewfinder is disabled. Hiding characters is also unavailable.
Remember to take lighting into account. Consider where your character is standing, whether they stand out from the environment or not, and whether their face is visible or they are just a silhouette. Use frame advance to get the perfect shot lined up. It can be fun to try to capture the same subject in very different moods.


